Tile Installation How-To Guide — ESG Builders LLC
Materials Selection
Surface Preparation
Layout Planning
Tile Cutting
Adhesive Application
Tile Installation
How It Works
Installing tile in your bathroom can significantly enhance its aesthetic appeal and functionality. Whether you're looking to update your floors, walls, or shower area, tile installation is a project that can add value to your home. At ESG Builders LLC, based in Brooklyn, New York, we specialize in professional tile installation services, ensuring that your project is completed with precision and care. With an impressive average rating of 4.9 out of 5 stars from 47 verified customer reviews, our commitment to quality and customer satisfaction shines through in every job we undertake. This how-to guide will walk you through the essential steps involved in tile installation, providing you with the knowledge you need to understand the process and prepare for a successful project. From selecting the right materials to the final grout application, we’ll cover everything you need to know about installing tile in your bathroom. Whether you plan on tackling this project yourself or hiring a professional like ESG Builders LLC, our guide aims to equip you with the necessary insights to achieve stunning results.
Materials Selection
Choosing the right tile is crucial for both aesthetics and functionality. Consider factors such as size, color, material, and slip resistance. Popular choices for bathrooms include ceramic, porcelain, and natural stone. Visit local suppliers in Brooklyn to see samples and find the best fit for your style and budget.
Surface Preparation
Before installation, ensure the surface is clean, dry, and level. Remove old tile or flooring and repair any damage to the substrate. This step is vital to prevent future issues like cracking or tile detachment. If needed, apply a cement backer board to provide a stable base for your tile.
Layout Planning
Planning your tile layout is essential for a visually appealing installation. Measure the area and mark guidelines on the surface to ensure straight lines and even spacing. Consider starting from the center and working outwards, especially for large spaces, to maintain symmetry.
Tile Cutting
Cutting tiles to fit around edges, corners, and fixtures is a common part of the installation process. Use a tile cutter or wet saw for precise cuts. Make sure to wear safety gear to protect yourself from sharp edges and dust. Take your time to ensure accuracy.
Adhesive Application
Apply thin-set mortar to the prepared surface using a notched trowel. This step is crucial for securing the tiles in place. Be sure to work in small sections to prevent the adhesive from drying out before you place the tiles. Follow the manufacturer's instructions for the best results.
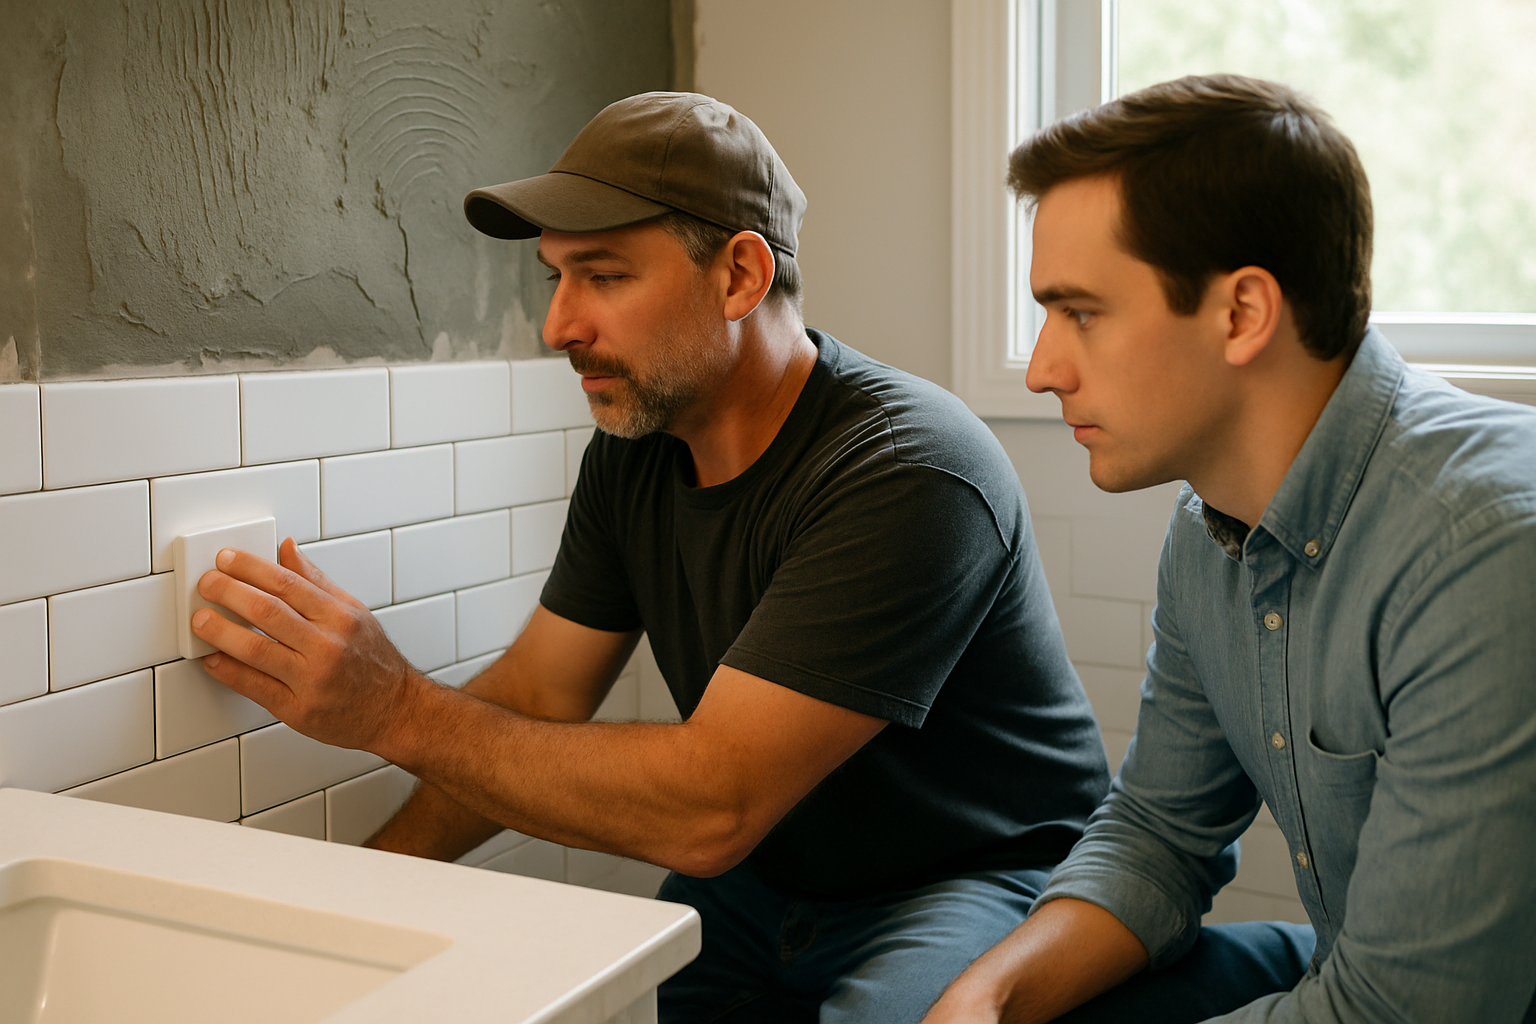
Tile Installation
Begin placing the tiles according to your planned layout. Press each tile firmly into the adhesive, ensuring even spacing. Use spacers to maintain consistent grout lines. Continue until the entire area is covered, taking breaks as needed to step back and check your work.
Grouting
Once the adhesive has cured, it's time to apply grout. Fill the spaces between tiles using a grout float, making sure to push the grout deep into the joints. Wipe away excess grout with a damp sponge before it hardens. Allow the grout to cure according to the manufacturer's recommendations.
Sealing and Finishing
After grouting, seal the grout lines to protect against moisture and staining. This step is particularly important in a bathroom setting. Once sealed, clean the tiled surface to remove any haze. Your newly tiled bathroom should now be ready for use, showcasing your hard work and the beauty of your selected tiles.
What to Expect & When
We believe in full transparency. Here's a realistic timeline so you can plan accordingly.
Planning and Material Selection
1-2 daysChoose your tiles and finalize the layout. This phase includes visiting suppliers and gathering all necessary materials.
Preparation and Layout
2-3 daysPrepare the surface and plan the layout for even tile placement. This is crucial for achieving a professional look.
Installation
2-4 daysThis includes adhesive application, tile setting, and grouting. The time can vary based on the size and complexity of the area.
Sealing and Final Touches
1 daySeal grout lines and perform final cleaning. This ensures your tile installation is protected and looks its best.
How to Prepare
- Clear the area of any furniture, fixtures, and debris to create a safe workspace.
- Ensure you have all necessary tools and materials before starting to avoid interruptions.
- Consider the color scheme and style of your existing bathroom to choose complementary tile designs.
- Review local building codes to ensure compliance with tile installation standards.
- Consult with a professional, like ESG Builders LLC, if you have any uncertainties about the installation process.
Common Questions
Everything you need to know before we arrive.
What type of tile is best for bathroom installation?
How long does the tile installation process take?
Can I install tile myself, or should I hire a professional?
What maintenance is required after tile installation?
What should I do if a tile cracks after installation?
Still have questions? We're happy to help.
Call (347) 342-1995Benefits of Professional Tile Installation
Opting for professional tile installation, especially in a high-traffic area like your bathroom, offers numerous advantages. At ESG Builders LLC in Brooklyn, New York, we bring expertise and experience to every project. Professionals ensure that the installation is done correctly the first time, reducing the risk of costly repairs in the future. Additionally, we have access to high-quality materials and tools, which can lead to a superior finish that enhances the overall look and value of your home. You also gain peace of mind knowing that the work is performed under compliance with local building codes and standards, ensuring safety and durability. With our 4.9-star rating from satisfied clients, you can trust us to deliver exceptional results tailored to your specific needs.
Choosing the Right Tile for Your Bathroom
Choosing the right tile for your bathroom is a critical decision that impacts both functionality and style. When selecting tiles, consider the size of the space, existing color schemes, and your personal style preferences. For smaller bathrooms, light-colored tiles can create an illusion of space, while larger tiles can minimize grout lines, providing a sleek look. It’s also essential to consider the texture of the tiles; smooth tiles may be easier to clean, while textured tiles can provide better slip resistance. Additionally, think about the maintenance required for each tile type. At ESG Builders LLC, we can assist you in selecting the perfect tiles that fit your vision while ensuring they are suitable for your bathroom's environment.
Ready to Get Started with ESG Builders LLC?
Our licensed technicians serve Brooklyn and surrounding communities. Free estimates — no obligation.