Cement Board Installation How-To Guide — ESG Builders LLC
Site Preparation
Measure and Cut Cement Board
Dry Fit Cement Board
Apply Thin-Set Mortar
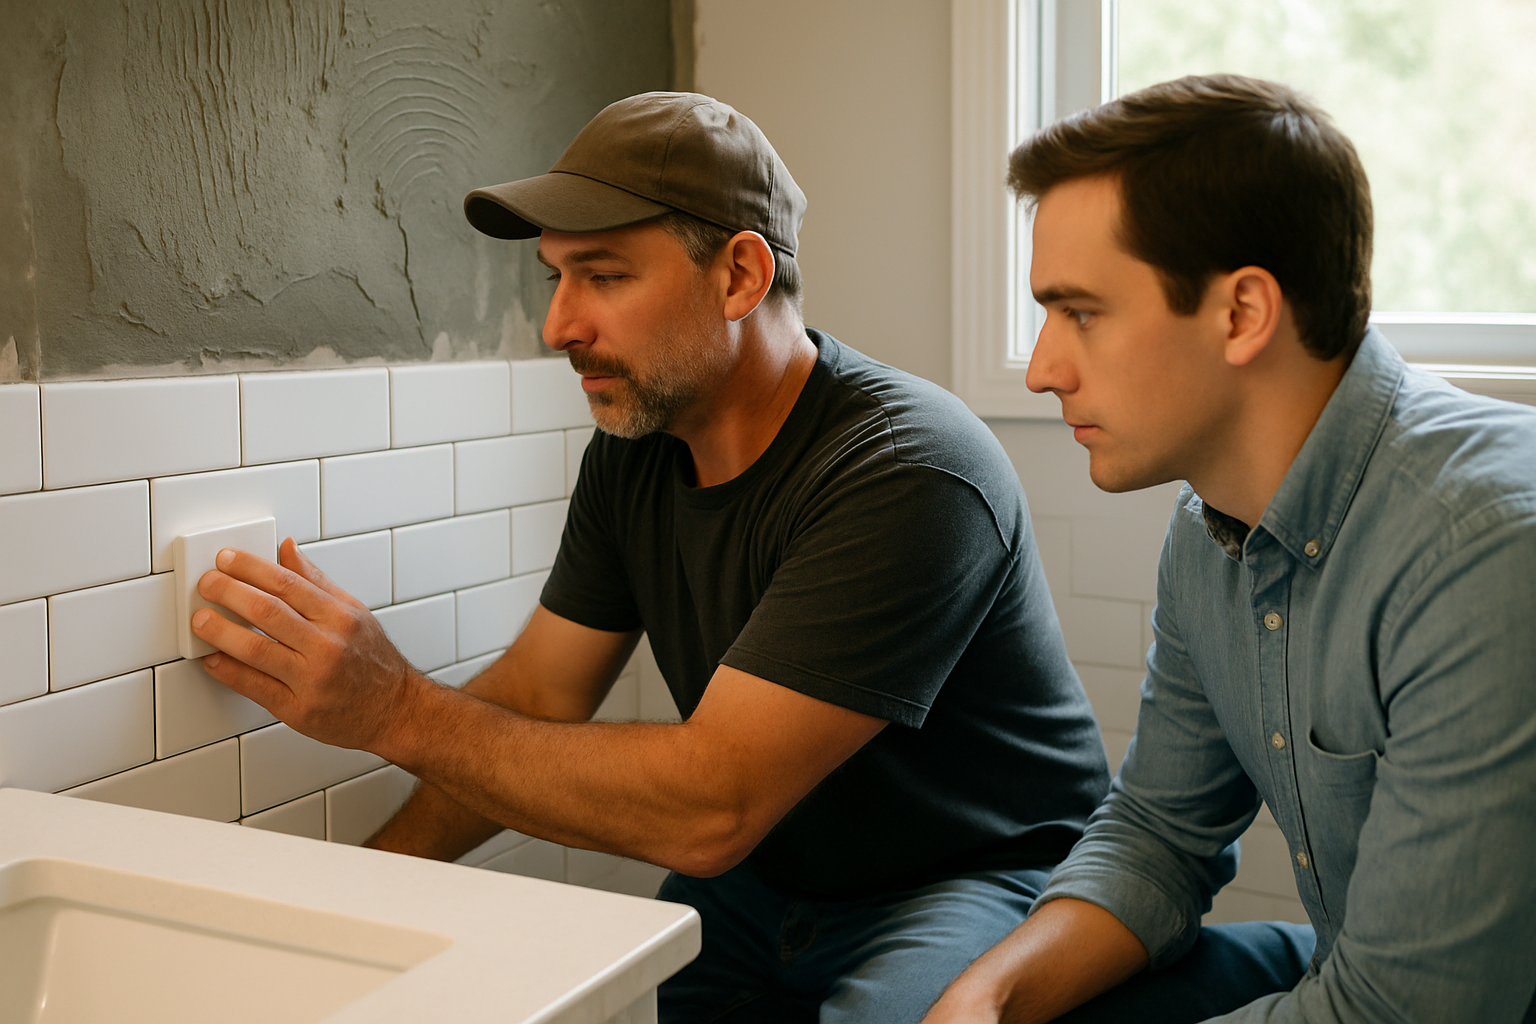
Install Cement Board
Tape and Mud Seams
How It Works
Cement board installation is a critical step in any bathroom remodel, especially for those who want to ensure a waterproof and durable surface for tiles. At ESG Builders LLC, we specialize in providing top-notch cement board installation services in Brooklyn, New York. With 47 verified customer reviews and an impressive average rating of 4.9 out of 5 stars, we are known for our professionalism and quality workmanship. Proper cement board installation not only enhances the longevity of your bathroom tiles but also prevents moisture damage, which is crucial in a wet environment like a bathroom. This guide will walk you through the step-by-step process of cement board installation, including essential tips and best practices to consider. Whether you’re a DIY enthusiast or planning to hire professionals, understanding this process can help you make informed decisions and achieve the best results. Let’s dive into the world of cement board installation and discover how ESG Builders LLC can assist you in transforming your bathroom into a beautiful and functional space.
Site Preparation
Before beginning the installation, it’s essential to prepare the site properly. This includes clearing the area of any existing tiles, debris, and furniture. Make sure to turn off any plumbing and electrical systems in the vicinity. Clean the floor and ensure it's level, as this will facilitate a smoother installation process and enhance the stability of the cement board. This step typically requires about 1-2 hours.
Measure and Cut Cement Board
Once the site is prepared, measure the dimensions of the area where the cement board will be installed. Using a utility knife or a scoring tool, carefully cut the cement board to fit these measurements. Ensure that the cuts are clean and that the edges are smooth to facilitate a proper fit against the walls and the floor. This step usually takes around 1-2 hours.
Dry Fit Cement Board
Before securing the cement board, perform a dry fit to ensure everything aligns correctly. Place the cut boards in their designated spots and check for any adjustments needed. This is an important step to avoid any surprises during the actual installation. The dry fit phase can take approximately 30-60 minutes.
Apply Thin-Set Mortar
After confirming the dry fit is correct, apply a layer of thin-set mortar to the subfloor using a notched trowel. This layer acts as an adhesive that secures the cement board in place, preventing moisture from seeping underneath. Make sure to apply an even coat and work in manageable sections. This step typically requires about 1 hour.
Install Cement Board
Now it's time to install the cement board. Place the boards onto the thin-set mortar while ensuring they are tightly fitted together. Use screws specifically designed for cement boards to secure them, placing screws every 8 inches along the edges and every 12 inches in the field. This process usually takes around 1-2 hours.
Tape and Mud Seams
Once the cement boards are installed, use fiberglass mesh tape to cover the seams between the boards. Apply a layer of thin-set mortar over the tape to create a smooth surface. This helps to prevent cracks and provides a solid foundation for your tile. Allow the mortar to dry completely, which can take 24 hours.
Final Inspection
After the mortar has dried, conduct a final inspection to ensure everything is secure and level. Check for any imperfections or areas that may need touch-ups before proceeding with tile installation. This step is crucial for achieving a high-quality finish in your bathroom remodel. This takes about 30-45 min.
What to Expect & When
We believe in full transparency. Here's a realistic timeline so you can plan accordingly.
Site Preparation
1 dayPrepare the area by clearing existing materials, leveling the floor, and ensuring a clean workspace.
Cement Board Installation
1-2 daysMeasure, cut, and install the cement board, applying thin-set mortar as needed.
Seam Treatment
1 dayTape and mud the seams to ensure a consistent surface before tiling.
Final Inspection
1 dayConduct a thorough inspection of the installation to ensure quality.
How to Prepare
- Ensure the subfloor is clean and dry before beginning the installation process.
- Gather all necessary tools and materials ahead of time to minimize interruptions.
- Read the manufacturer's instructions for both the cement board and the thin-set mortar.
- Consider the layout of tiles in advance to minimize waste and ensure a visually appealing finish.
- Wear appropriate safety gear, including gloves and a mask, to protect yourself during installation.
Common Questions
Everything you need to know before we arrive.
What is cement board used for in bathroom remodeling?
Can I install cement board myself?
How long does it take for cement board to dry?
What tools do I need for cement board installation?
What type of cement board is best for bathrooms?
Still have questions? We're happy to help.
Call (347) 342-1995Benefits of Professional Cement Board Installation
Choosing professional cement board installation services, like those offered by ESG Builders LLC in Brooklyn, can significantly enhance the quality of your bathroom remodel. Professionals bring experience, ensuring that the installation is compliant with local building codes and standards, thus reducing the risk of future problems like water damage or mold growth. Additionally, having skilled contractors on the job can save you time and stress, allowing you to focus on other aspects of your remodel. Our team's expertise ensures that every step, from site preparation to final inspection, is executed flawlessly, giving you peace of mind and a long-lasting result.
Common Mistakes to Avoid During Cement Board Installation
When it comes to cement board installation, several common mistakes can compromise the integrity of your bathroom remodel. One frequent error is not ensuring a level subfloor, which can lead to uneven tile installation. Another mistake is miscalculation of measurements, resulting in poorly fitting boards. Additionally, failing to use the appropriate screws can cause boards to loosen over time, leading to cracks and instability. At ESG Builders LLC, we emphasize the importance of meticulous planning and execution to avoid these pitfalls. Our expert team is trained to recognize and rectify potential issues before they become significant problems, ensuring your bathroom remains beautiful and functional for years to come.
Ready to Get Started with ESG Builders LLC?
Our licensed technicians serve Brooklyn and surrounding communities. Free estimates — no obligation.